Your dog's coat is like a lush green garden. Just like you rake your garden to remove dead leaves and get rid of weeds, a slicker brush is used to remove matts, tangles, and dead hair. Getting rid of matted hair and tangles is essential to maintain your dog's fur and general health and well-being.
Want to know more? Well, then, keep reading.
This article will discuss a slicker brush, one of the most essential grooming tools. We will also cover how to use it to keep your dog's fur free of tangles and mats.
What Is A Slicker Brush, And What Is It Used For?
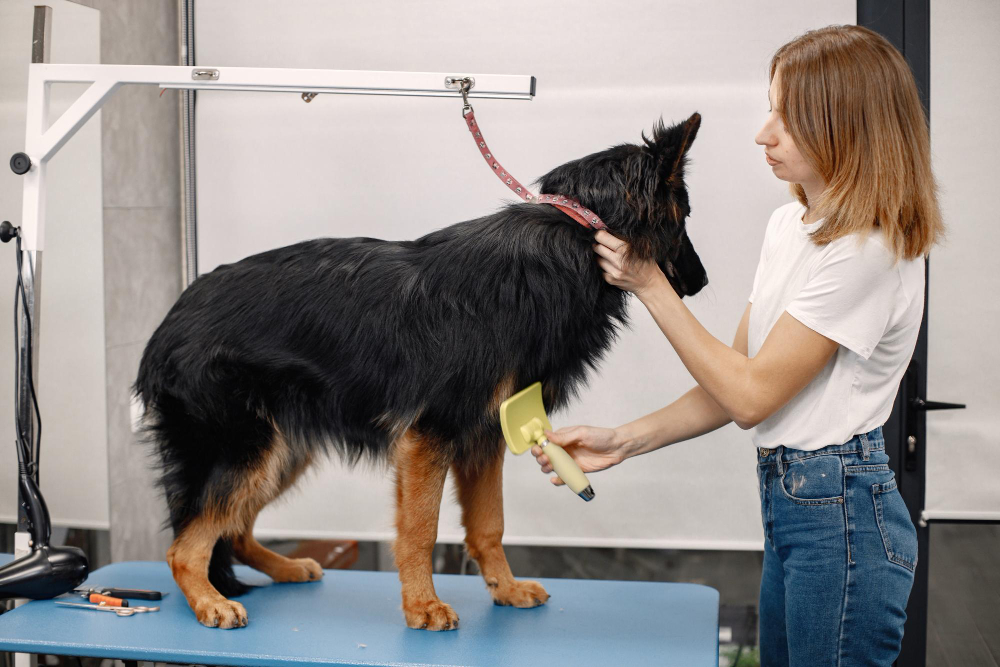
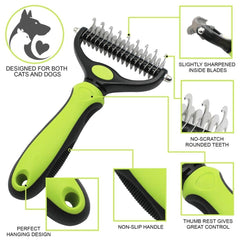
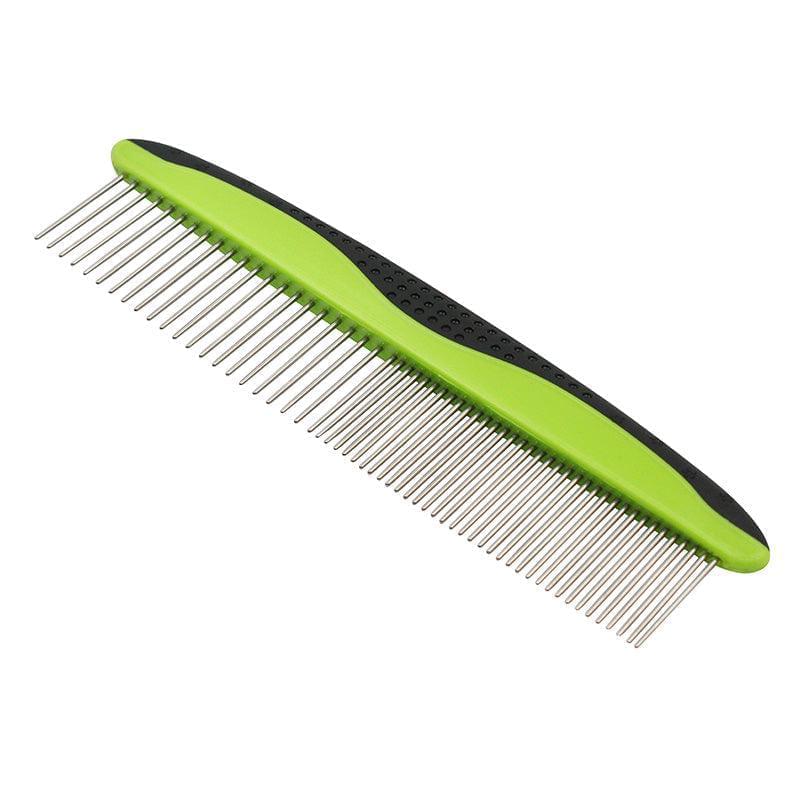
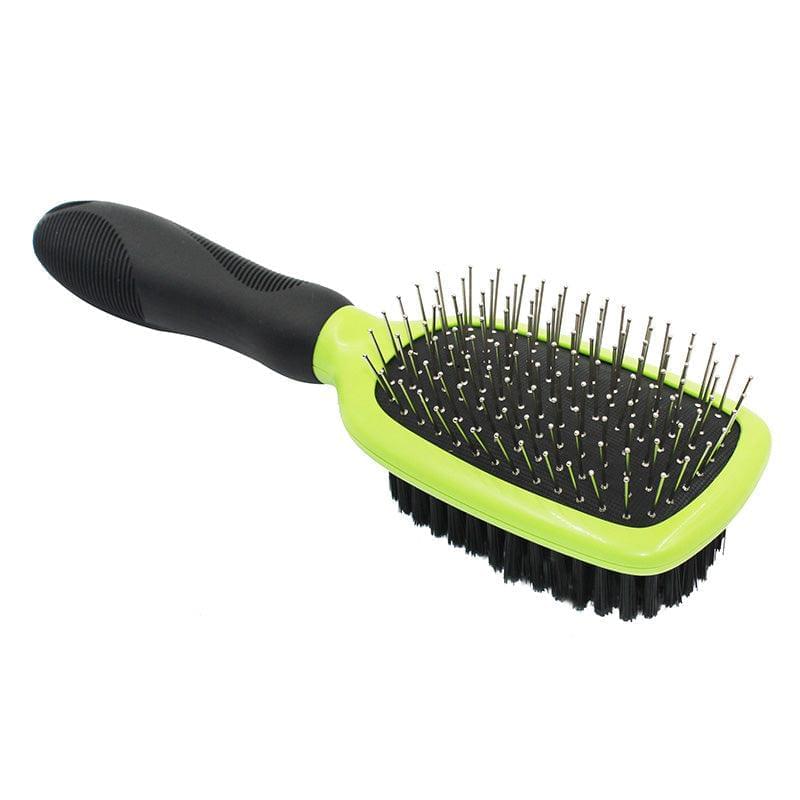
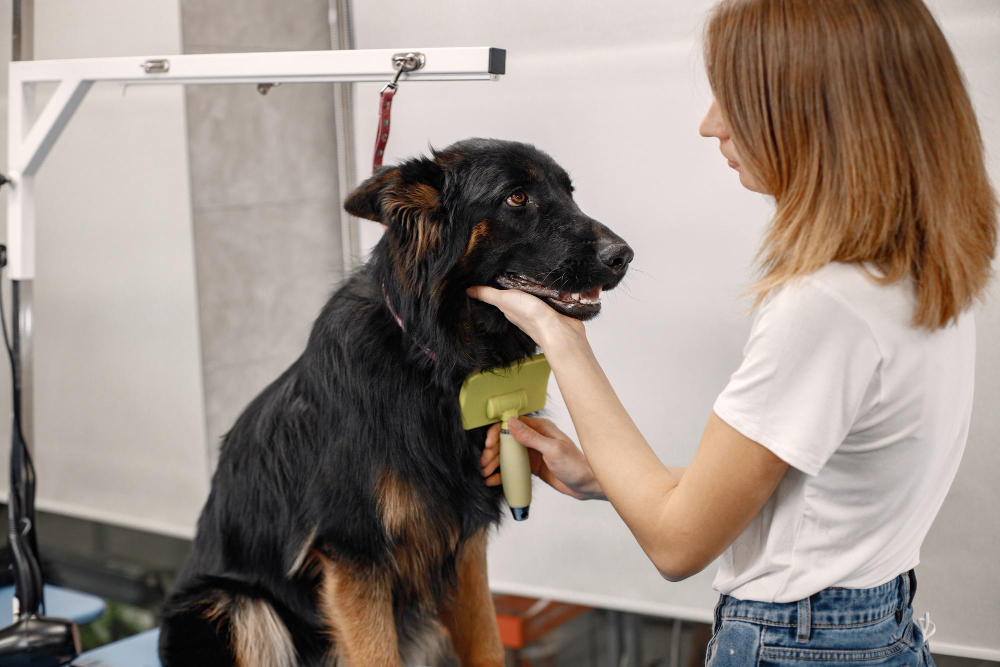
This brush is like a magic wand for your pet's hair, particularly for a dog with a double coat. This brush has fine, short, closely packed wires, just like a metal comb, thus making it perfect for removing tangles, mats, and dead hair from your furry friend's coat.
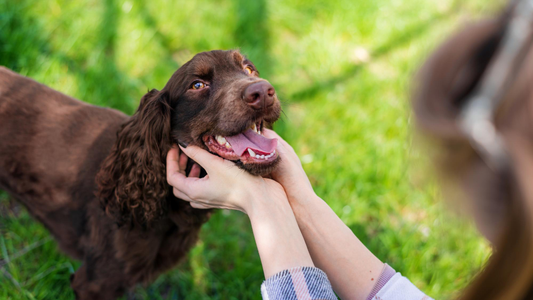
It doesn't just help you maintain your dog's hair but also allows you to bond with your pet. Use the brush gently, as you don't want to hurt your pet's skin. Remember to pay attention to how they feel about the brushing and be patient.
How To Choose The Right Slicker Brush?
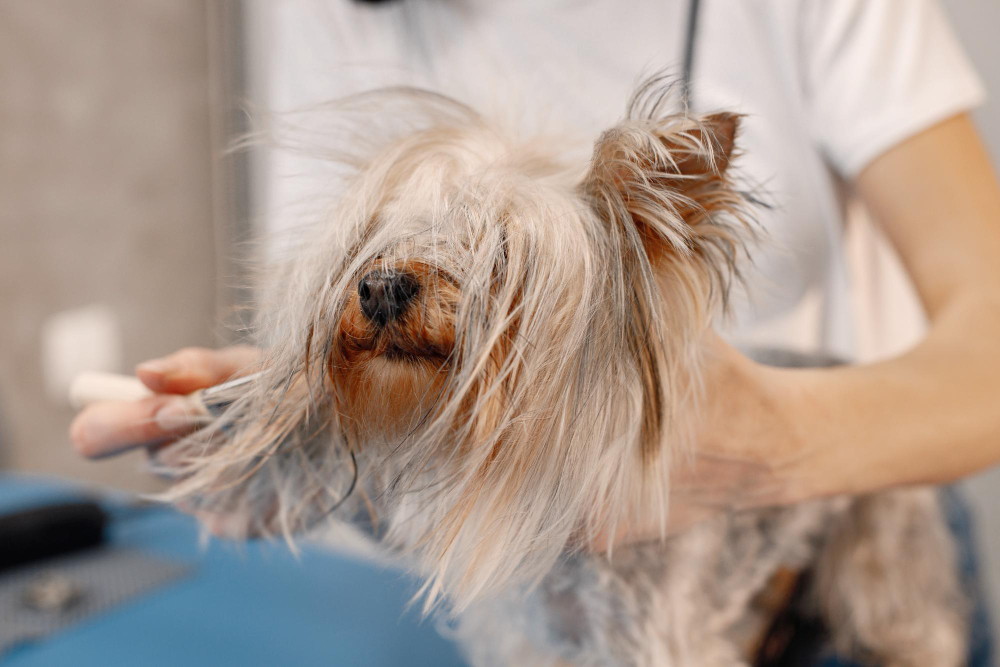
Choosing the right slicker brush for your dog's fur type and size is extremely vital. This is because it will determine the impact of the grooming.
Here are some key factors to look for when selecting a slicker brush:
-
Consider The Coat Type
Different coat types require different types of slicker brushes. Dogs with short coats need only a basic slicker brush with short, tightly packed bristles for their grooming session.
Dogs with medium to long hair may require a slicker brush with longer, more widely-spaced bristles. This type of brush will help penetrate their thick or double coat and remove mats and tangles even from the undercoat.
-
Check The Coat Condition
The next most important step is to check your dog's coat condition.
If your dog has a lot of mats and tangles, you may need a slicker brush with longer, more widely-spaced bristles to help detangle the fur. Conversely, if your dog's fur is in good condition, a basic slicker brush with short, tightly packed bristles may be sufficient.
-
Consider Your Dog's Size
The size of your dog is also an essential factor to consider when choosing a slicker brush. Smaller dogs may require a smaller, more compact slicker brush to get to all the teeny-tiny spots. Larger dogs may need a bigger brush to help save time.
-
Ensure Comfort And Ease Of Use
Lastly, choose a slicker brush that is comfortable for you to use. You will be the one using it several times in a week or months. So it is necessary to look for a brush with an ergonomic handle that fits comfortably in your hand.
There is a general guideline on how to go about using a slicker brush for the best results. So, sit back and prepare to learn how to use a slicker brush.
How To Use A Slicker Brush On Your Dog?
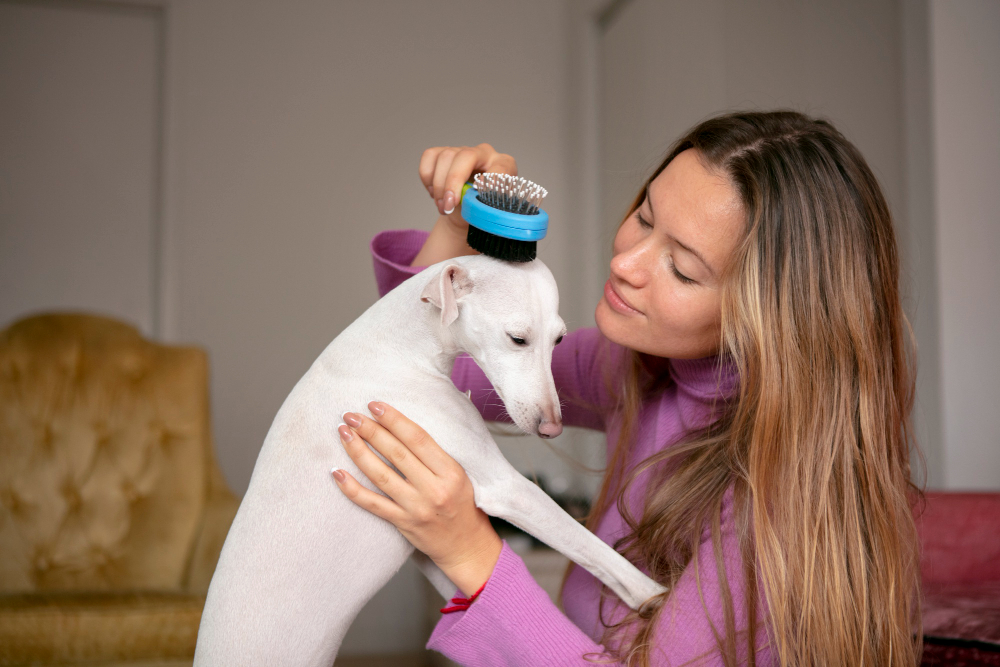
Here are some essential steps you need to follow while using this brush:
Step 1 - Prepare the coat
Preparing your dog's fur before grooming is vital to make the grooming process much easier and more comfortable for your pet and you. One way to get this done is by using a small amount of a vet-recommended detangling spray or leave-in conditioner on their fur. This will make brushing the fur less painful for your dog than if you were to brush it dry.
When applying the conditioning spray, use a small amount and distribute it evenly through your dog's fur. Avoid the area around the nose and the eyes to avoid irritation. Ensure you use only a little, as this can make the fur greasy and challenging to brush.
Step 2 - Let's get brushing!
Working in sections when brushing your dog with a slicker brush is ideal. You can section your dog's fur with the slicker brush before you begin brushing.
Ensure the brush is close to the dog's skin and level with the skin as you brush. Generally, start from its legs and work your way up so you get all sections of its coat. Ensure you gently brush all the delicate areas, because not doing so might trigger your dog to act out.
Step 3 - Tangle action!
When you come across a tangled or matted portion of your dog's fur, it is essential to work on it slowly, carefully, and extremely gently. It is advised to start from the less tangled part of the hair and work your way up to the mat's core.
Important Note: It is important to note that rushing through this process may result in ripping the hair or causing discomfort to your dog. It is vital to be patient, as removing a knot can take time and can be painful for your canine friend.
Make sure you entirely untangle hair without causing harm.
Step 4 - A step ahead
Sometimes, your dog's fur is in a condition that is impossible to brush with a slicker brush. This is when you pull out your scissors or a trimmer and cut the matt out.
Step 5 - Reward your dog
After you groom your dog and are completely satisfied with the result, reward your dog with a treat. It is a great way to reward them for their cooperation and also a great way to reinforce positive behaviour in your dog.
Now that you know how to use slicker brushes, let's determine how often you should use them.
How Many Times Should I Use A Slicker Brush On My Dog?
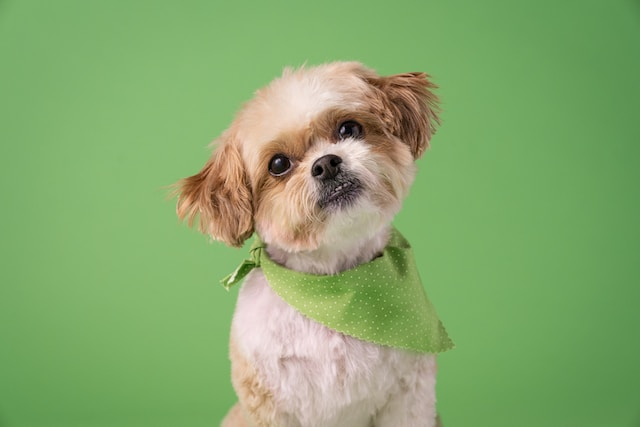
The frequency of using a slicker brush on your dog's fur depends on various factors, such as the breed, the length and thickness of the coat, and activity level.
Dogs with curly coats require more frequent grooming as their curls can convert into mats. This means they need more attention than dogs with short or straight hair. To avoid matting, curly-haired dogs need double coats to be brushed regularly using a slicker brush.
Important Note: Regular grooming is also necessary for wavy-haired dogs to keep their wiry coats healthy and tangle-free. Although they don't need as much attention as curly haired dogs, they need more grooming than straight-haired dogs.
One way to determine how often your dog needs grooming is to start brushing your dog's coat once every two days.
If you find no tangles or mats forming by the second grooming session, you can reduce it to every three days. Keep doing this until you find the optimal frequency for you and your dog.
Understanding your dog's fur type and grooming needs is essential to establish a grooming routine that works for them. You also need the right pet grooming accessories for optimum results.
How Do You Clean A Slicker Brush?
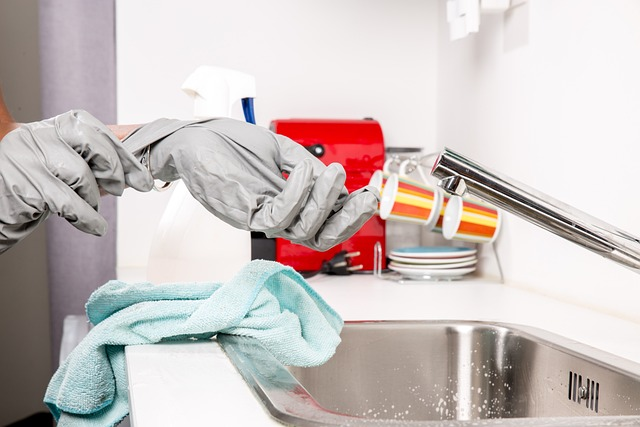
Knowing how to clean a slicker brush is also part of the job. Keeping your slicker brush clean before every grooming session is critical to prevent skin infections and ensure effectiveness. Remove all dead hair from the brush after each grooming session to maintain the brush.
If this is too much work for you, we highly recommend a self-cleaning slicker brush for ease of use. Next, use water and pet shampoo or vinegar to create an antibacterial solution for the brush. Dip the brush in the solution for 5 to 30 minutes, then rinse it to remove germs and bacteria.
Important Note: Spray a stronger disinfectant over the brush. This will help remove as many bacteria and germs as possible. This will also ensure the brush is completely clean and prevent bacteria or germs from transferring back to your dog's coat during the next grooming session.
Leave the slicker brush to dry thoroughly on a towel. Ensure that the pins of the brush are pointed down. This will enable all the liquid to drain out of the handle and brush face, reducing the risk of mold growth. Once the brush is dry, store it in a dry and warm place, away from your dog, to prevent it from chewing on the slicker brush, as chewing on the brush could harm their gums.
By following these steps, you can maintain a clean and effective pin brush, which will help keep your pet's coat healthy and tangle-free.
Final Words!
We have covered everything in this blog regarding using slicker brushes, from how to choose the right one, how to use one, and how to clean one after use.
Now that you know all the basics and the importance of using a slicker brush, rush to your closest pet store or, better yet, your favorite online store to order the right dog brush today!
