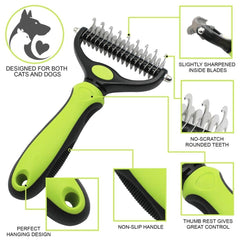
Is your dog shedding like crazy? Are you always covered in dog hair? If yes, it's about time you get a slicker brush.
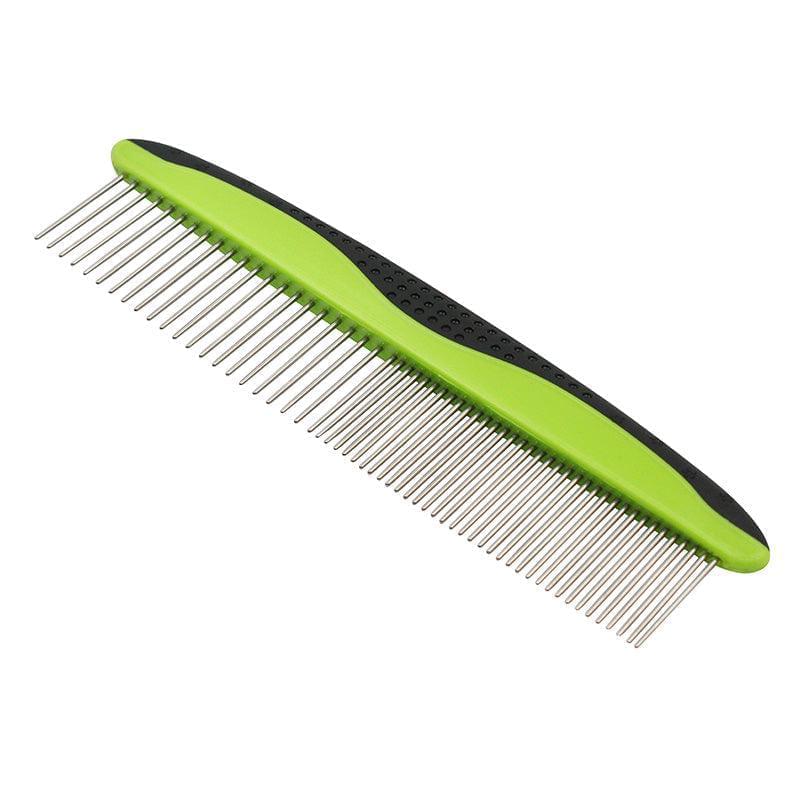
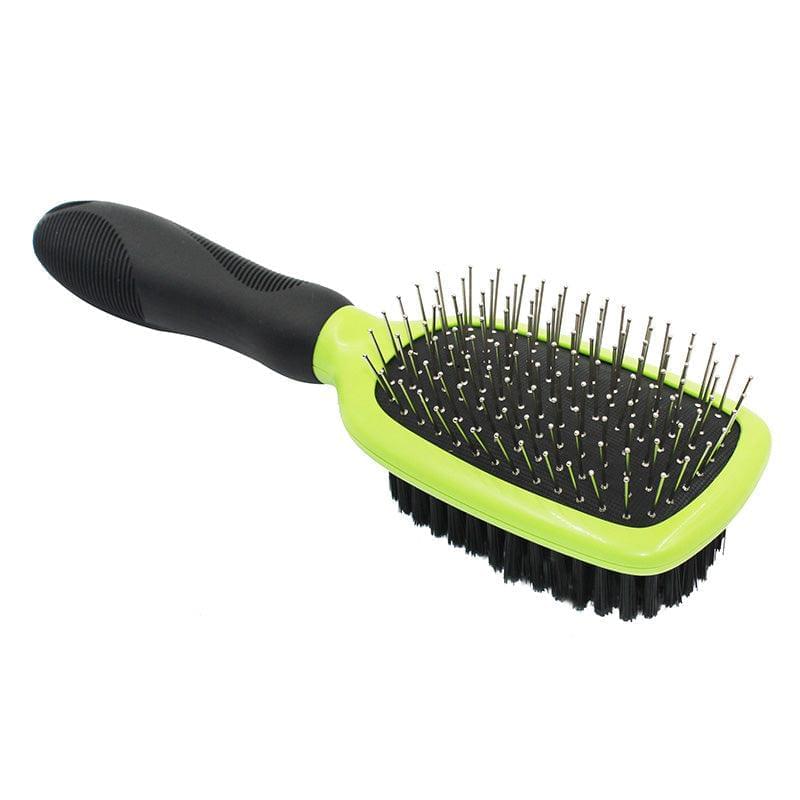
Slicker brushes are grooming tools with fine, short wires that are close together. They are different from a fine-tooth comb as their wires are bent at an angle. This makes them effective at removing tangles, mats, and loose hair from your pet's coat.
Slicker brushes come in various shapes and sizes, but they all share the same purpose – keeping your pet's coat shiny and healthy. So don't miss out on having a slicker brush in your dog grooming accessories.
Slicker brushes are handy for long-haired dogs or dogs with curly coats. They can remove loose fur and prevent matting on your pet's skin, which can be uncomfortable. Matting can also lead to skin irritation and even infections if left untreated.
Regular use of a slicker brush can prevent matting and keep your pet's coat looking shiny and healthy.
How To Use a Slicker Brush?
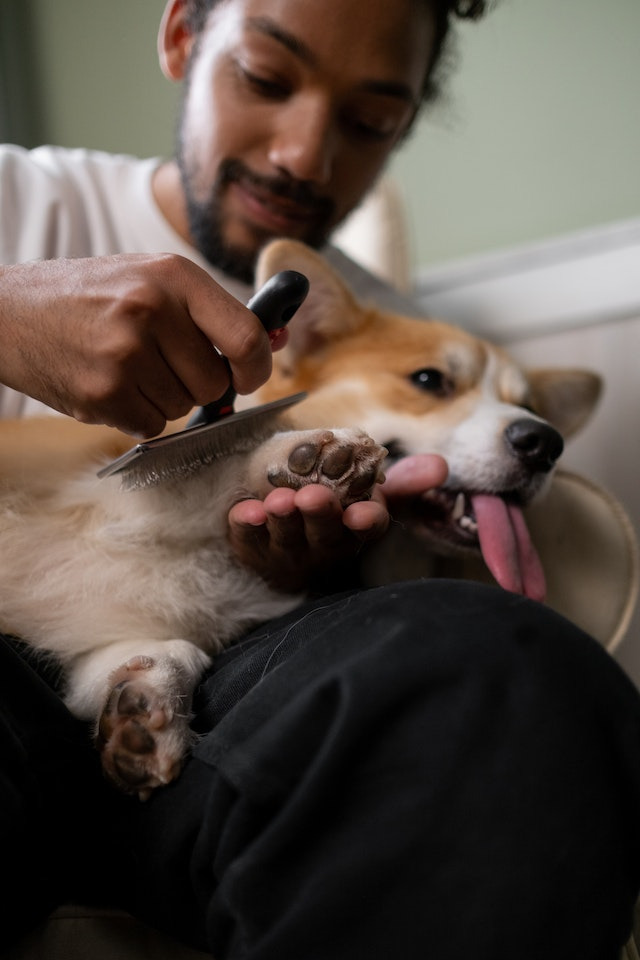
Wondering how to use a slicker brush?
Using a grooming tool like a slicker brush is relatively easy. Use a light hand and avoid applying too much pressure, which can cause your pet discomfort.
Important Note: Make sure to brush in the direction of the hair growth, taking care around sensitive areas like the face and stomach. If you encounter a knot or mat, gently work it out with the slicker brush without pulling or tugging on the fur.
Why Using A Slicker Brush Is Essential?

Along with removing loose fur and preventing matting, a slicker brush is necessary for your pet for other reasons. Regular slicker brush use can keep your pet's coat looking shiny and healthy. This is because brushing distributes natural oils throughout the fur, promoting a healthy coat.
Pets with long hair trap more dust, pollen, and other allergens in their coats. Regular brushing with a slicker brush can help remove these allergens, reducing allergies in pets and humans.
Brushing your pet can be a great way to bond with them. It's a chance to spend quality time together while promoting good health using a brush and comb for dogs.
If you have a pet with long hair or a curly coat, a slicker brush is a must-have item for your grooming kit.
Now that we have outlined a slicker brush and its importance, let's see how you can clean it after using it.
This article has compiled a guide on cleaning a slicker brush in six easy steps. But first, let us walk you through why washing your dog's slicker brush is essential.
Why Do You Need to Wash a Dog Brush?
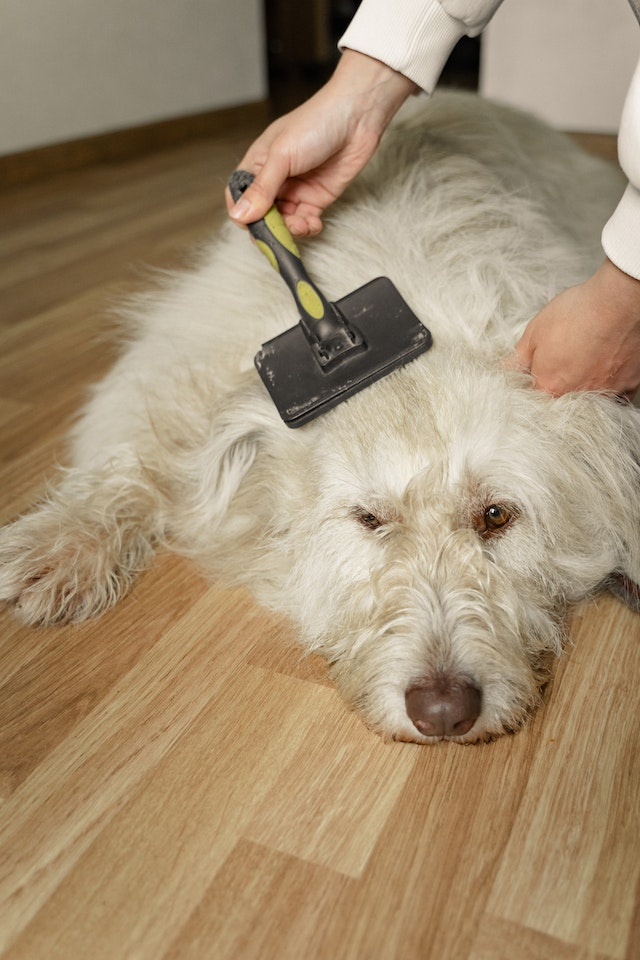
A slicker brush removes tangles, mats, and loose fur from your dog's coat. However, cleaning the slicker brush regularly is essential to maintain its effectiveness and hygiene.
Let's see why cleaning your dog's slicker brush is necessary.
1) Prevents Bacterial Growth
Using a slicker brush to groom your dog can trap dirt, dander, dead skin, and loose fur. Over time, this can lead to bacterial growth on the brush.
Important Note: Regular cleaning of your dog slicker brush will help prevent bacterial growth and maintain the hygiene of the brushes.
2) Maintain the Effectiveness of the Dog Brushes
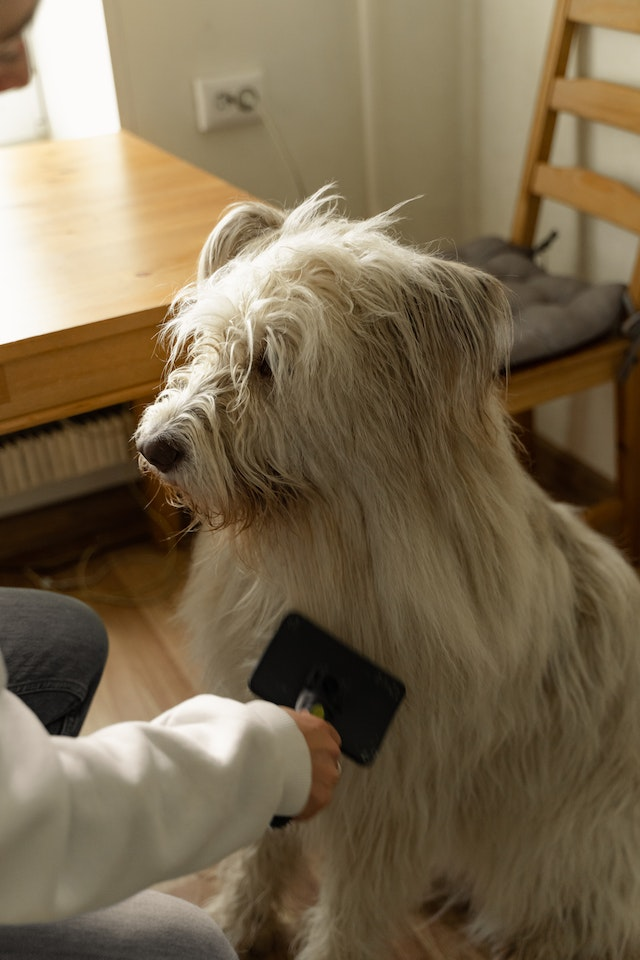
As a dog brush becomes clogged with dirt, dander, and fur, it can become less effective at removing tangles and mats from your dog's coat. Regular cleaning of your dog brush will maintain its effectiveness and ensure that it continues doing its job correctly.
3) Keep Your Dog Healthy
A dirty slicker brush can harbor bacteria with loose hair, which can transfer to your dog's coat and cause skin irritation, rashes, or infections. Cleaning the slicker brush regularly can help prevent these health issues while keeping your dog healthy.
How To Clean A Dog Slicker Brush (5-Step Guide)
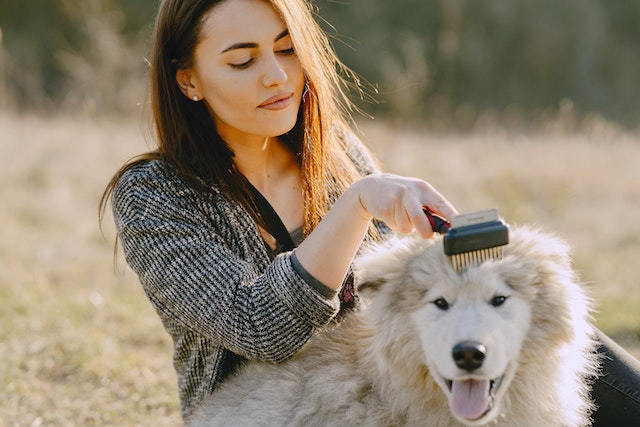
Here is a step-by-step guide for cleaning a slicker brush. You can use the same method for a brush with retractable bristles or a pin brush.
What you'll need to wash your dog brushes
- Hot water
- Antibacterial soap or organic shampoo
- Disinfectant such as Barbacide
- Toothbrush
- Gloves (optional)
- Comb
Cleaning a dog brush or other grooming tools may seem daunting, but with a few simple steps, you can have it looking new in no time.
Step 1: Remove Loose Fur
Cleaning a slicker brush is crucial as it prepares the brush for a more profound cleaning process. It's natural for some fur to get caught in the bristles during use.
Before starting the cleaning process, removing this loose fur is essential, as it can make it difficult to clean the brush thoroughly.
Important Note: You can use your fingers, a comb, or a brush to remove the loose fur from the slicker brush. If using your fingers, run them along the bristles, gently pulling out any accumulated fur. If using a comb or brush, start at one end of the bristles and work down to the other, removing any fur along the way.
It's important to be gentle when removing the loose fur to avoid damaging the bristles. Slicker brushes have delicate bristles that can be bent or damaged if handled roughly. Once you have removed as much loose fur as possible, you can proceed to the next step in the cleaning process.
Step 2: Soak the Brush
The second step of cleaning a slicker brush involves soaking the brush in warm water. Soaking helps loosen any dirt, debris, or leftover hair that may be stuck in the bristles. Thus making it easier to remove them in the following steps.
Use a bowl or sink filled with warm water to soak the slicker brush. Warm water is preferable as it helps to loosen dirt and debris more effectively than cold water.
Add a few drops of mild soap to the water. You can use a gentle pet shampoo or mild dish soap. Avoid harsh detergents or chemicals, which can damage the bristles or irritate your pet's skin.
Once the water and soap are ready, place the slicker brush in the water and let it soak for a few minutes. The soaking time may vary depending on how dirty the brush is. If the brush is soiled, you may need to let it soak for longer. However, be careful not to soak the brush too long, as it can damage the bristles or affect the glue that holds them in place.
During the soaking process, you may notice that the water turns murky as dirt and debris are released from the bristles. This is normal and a sign that the soaking process is working. After a few minutes, you can proceed to the next step of scrubbing the bristles.
Step 3: Scrub the Bristles
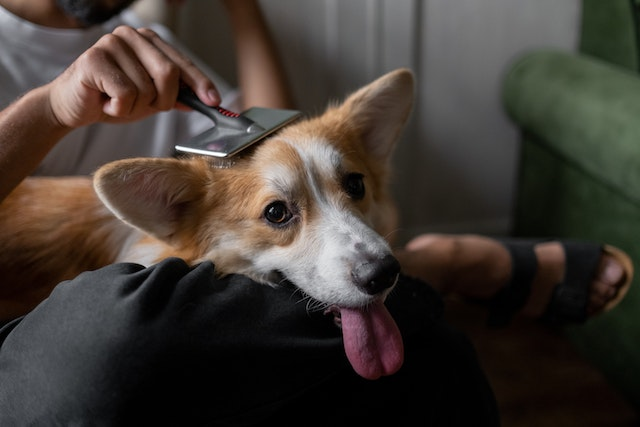
The third step in cleaning a slicker brush involves scrubbing the bristles to remove any remaining dirt or debris. Once you have allowed the brush to soak for a few minutes, remove it from the water and scrub the bristles.
You can use an old clean toothbrush, a soft-bristled cleaning brush, or even your fingers to scrub the bristles. It's essential to choose a tool that won't damage the bristles and can reach between them to remove any debris that may be stuck there.
Start at one end of the bristles and work down to the other, gently scrubbing the bristles with the brush or your fingers. Pay extra attention to the areas in between the bristles, as these are often where dirt and debris tend to accumulate the most.
It's essential to scrub the bristles gently to avoid damaging them. If you notice any bent or damaged bristles, you can gently straighten them out with your fingers.
Once you have scrubbed the bristles thoroughly, you can rinse the brush.
Step 4: Rinse the Brush
The fourth step in cleaning a slicker brush is to rinse it thoroughly under running water. After scrubbing the bristles, some soap residue may be left on the brush, which needs to be removed.
To rinse the brush, hold it under running water, and get water into all the bristles. You can also use your fingers to help remove any remaining dirt or debris from the bristles.
Be sure to rinse the brush thoroughly to remove all soap residue. You may need to rinse the brush several times to remove all soap. Any remaining soap residue can cause skin irritation or allergic reactions in your pet.
After rinsing, gently shake the brush to remove any excess water. Do not twist or pull the bristles, as this can damage them.
Step 5: Dry the Brush
The final step in cleaning a slicker brush is to dry it properly. After rinsing and shaking the brush to remove any excess water, it's crucial to dry it thoroughly. This will prevent the growth of mold or mildew, which can lead to unpleasant odors or bacteria growth.
You can dry the slicker brush using a clean paper towel. This will help remove as much water as possible from the bristles. Gently blot the bristles with the towel, being careful not to bend or damage them.
Alternatively, you can let the brush air dry. Place it on a clean towel or a drying rack in a dry, well-ventilated area. Avoid placing the brush in direct sunlight or near a heat source, as this can damage the bristles or cause the glue holding them to melt.
Ensure that the area where you place the slicker brush to dry is clean and free of dust or debris, as any remaining dirt or debris can get stuck in the bristles and defeat the purpose of cleaning the brush.
Once the slicker brush is arid, store the brush in a clean, dry place away from moisture and dust for your next use.
Following these simple steps, you can keep your slicker brush clean, in good condition, and ready to use whenever you need it to groom your pet's coat.
If you're struggling to make a choice, our guide about slicker brush vs furminator can help you make an informed decision.
How Often Should You Use A Slicker Brush?
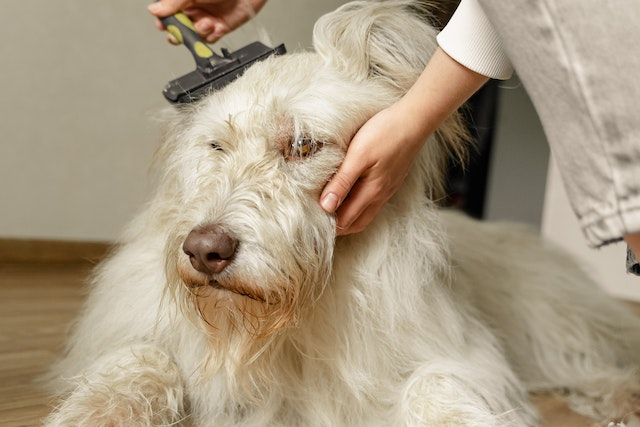
It's recommended to start brushing your dog regularly from an early age, especially if they have longer or thicker hair.
Veterinarians suggest starting around three months old and adjusting the frequency based on the length, coat texture, and amount of excess hair. It's also important to brush your dog after they come inside to prevent dirt and debris from getting trapped in its fur, which can lead to skin irritation and other problems.
When brushing your dog, it's important to use firm strokes instead of overly gentle ones, which can be rough on their skin. Regular brushing can prevent tangles, mats, and loose fur, leaving their coat smooth and shiny.
So, whether your pup has long or short hair, incorporate regular brushing of all the hair into your routine to keep them healthy and happy.
Final Words!
Caring for your furry friend's coat is crucial to their overall health and well-being. Grooming your pet with a slicker brush removes tangles, mats, and loose fur, making their coat smooth and shiny.
However, using a dirty slicker brush can do more harm than good. Accumulated dirt, debris, and bacteria can lead to skin irritation or infections in your pet. That's why it's essential to clean your slicker brush regularly.
Cleaning a slicker brush is a simple process that involves removing loose fur, soaking the brush in warm soapy water, scrubbing the bristles, rinsing thoroughly, and drying correctly. By following these steps, you can keep your slicker brush in top condition, ready to be used whenever needed.
Regularly cleaning your brushes ensures that they work effectively and help maintain good hygiene for your pet. It's recommended to clean your slicker brush after every use, especially if your pet sheds heavily.
Cleaning a slicker brush is an essential aspect of pet grooming that should be noticed. Cleaning your slicker brush properly can help keep your pet's coat healthy and shiny and prevent unwanted skin irritations or infections.
